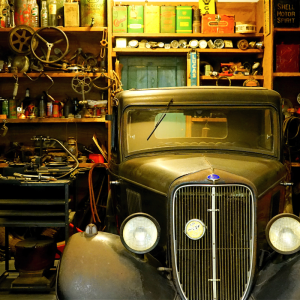
Restoring a classic car is a rewarding endeavor that allows you to bring a piece of automotive history back to life. Whether you’re a seasoned mechanic or a passionate novice, the process of restoring a vintage vehicle requires careful planning, patience, and attention to detail. In this guide, we’ll walk you through the essential steps and best practices for successfully restoring a classic car.
Step 1: Choosing the Right Car
Before diving into a restoration project, it’s crucial to select the right car. Here are some factors to consider:
- Personal Interest: Choose a car you are passionate about. This will keep you motivated throughout the restoration process.
- Availability of Parts: Ensure that replacement parts are readily available. Some rare models may have limited parts, making the restoration more challenging and expensive.
- Condition of the Car: Assess the car’s overall condition. A vehicle with minimal rust and a solid frame is preferable to one that requires extensive bodywork.
Step 2: Planning and Budgeting
A well-thought-out plan and budget are essential for a successful restoration:
- Create a Project Plan: Outline the steps involved in the restoration, including disassembly, bodywork, engine rebuild, interior restoration, and reassembly.
- Set a Budget: Determine how much you are willing to spend. Include costs for parts, labor (if you’re hiring professionals), tools, and unexpected expenses.
- Timeline: Set realistic deadlines for each phase of the restoration. Keep in mind that restorations often take longer than anticipated.
Step 3: Disassembly
Careful disassembly is the foundation of a successful restoration:
- Document Everything: Take detailed photos and notes during disassembly. This documentation will be invaluable when it’s time to reassemble the car.
- Label and Store Parts: Use labeled bags and containers to organize bolts, nuts, and small parts. Label larger components with masking tape or tags.
- Clean As You Go: Clean parts as you remove them. This will make the reassembly process easier and ensure that components are free of dirt and grime.
Step 4: Bodywork and Paint
Bodywork and paint restoration are crucial for achieving a showroom-quality finish:
- Rust Repair: Address any rust issues by cutting out and replacing damaged sections with new metal. Use a rust converter on smaller rust spots.
- Body Filler: Apply body filler to smooth out dents and imperfections. Sand the filler until the surface is smooth and even.
- Priming and Painting: Apply a quality primer to the entire body. Once the primer is dry, paint the car using multiple thin coats. Finish with a clear coat for added protection and shine.
Step 5: Engine and Mechanical Systems
Restoring the engine and mechanical systems is essential for a reliable and smooth-running vehicle:
- Engine Rebuild: Inspect and rebuild the engine, replacing worn-out parts such as pistons, bearings, and gaskets. Consider upgrading to modern components for improved performance.
- Transmission and Drivetrain: Overhaul the transmission, differential, and driveshaft. Ensure that all components are in good working order.
- Suspension and Brakes: Replace worn suspension parts, including shocks, springs, and bushings. Upgrade the braking system with new pads, rotors, and lines.
Step 6: Interior Restoration
The interior of your classic car should be restored to match the exterior’s quality:
- Upholstery: Reupholster seats, door panels, and headliners. Choose materials that match the original specifications or upgrade to higher-quality options.
- Dash and Instruments: Restore or replace the dashboard, gauges, and other instruments. Ensure all electrical components are functioning correctly.
- Carpets and Trim: Install new carpets and trim pieces. Pay attention to details such as weatherstripping and window seals.
Step 7: Reassembly
Reassembling the car is a meticulous process that requires patience and precision:
- Follow Documentation: Use the photos and notes taken during disassembly as a guide. This will help ensure that everything is reassembled correctly.
- Take Your Time: Avoid rushing the reassembly process. Double-check that all components are properly aligned and secured.
- Test and Tune: Once the car is reassembled, perform thorough testing. Check for leaks, alignment issues, and any other problems that may need attention. Tune the engine for optimal performance.
Step 8: Final Touches and Enjoyment
With the restoration complete, it’s time for the final touches and to enjoy your hard work:
- Detailing: Give the car a thorough detailing, including polishing the paint, cleaning the interior, and shining the chrome.
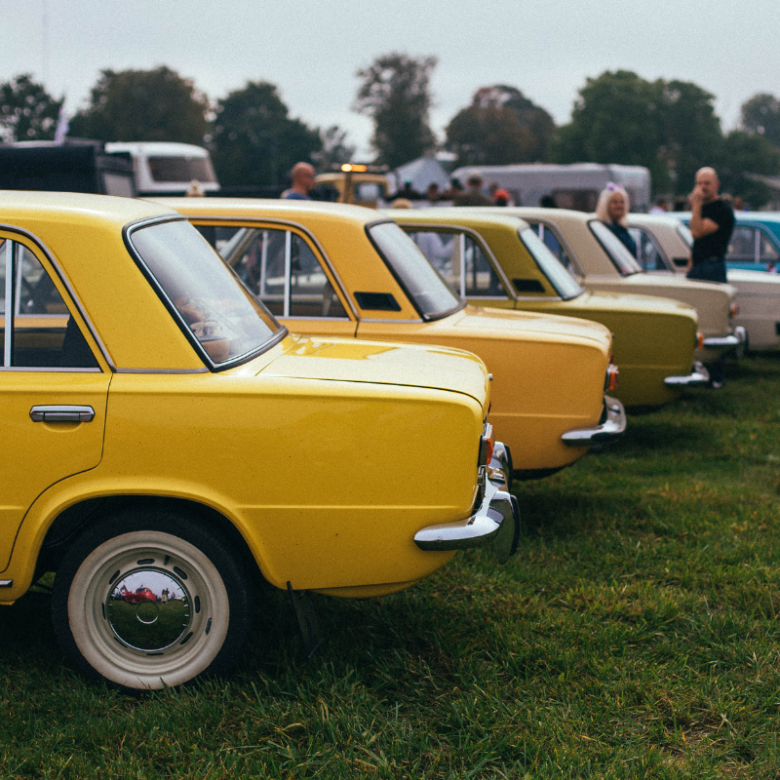
- Show and Drive: Take your restored classic car to car shows, meetups, and on leisurely drives. Share your passion and hard work with other enthusiasts.
Conclusion
Restoring a classic car is a fulfilling and challenging project that requires dedication, skill, and a love for vintage vehicles. By following these steps and best practices, you can successfully bring a classic car back to its former glory and enjoy the satisfaction of preserving a piece of automotive history. Whether you’re restoring a beloved model from your youth or tackling a dream project, the journey of restoration is as rewarding as the final result.